This little tutorial shows how to setup Apache, MySQL and PHP on a Linux server, in this case Ubuntu 14.04 LTS (by the way, if you want to know what LTS means, have a look into the wikipedia article). Most tutorials are making it overcomplicated, and most commands (like apache restarting etc.) are not necessary anymore today. In this example I’ll use a clean and fresh untouched installation of Ubuntu 14.04 LTS on a $5-server at DigitalOcean.
First, log into your server….
1. Do an update and an upgrade to keep everything up-to-date:
sudo apt-get update
sudo apt-get upgrade
2. Install Apache (this will install Apache 2.4.x by default):
sudo apt-get install apache2
3. Install PHP (this will install PHP 5.5.x by default):
sudo apt-get install php5
4. Install MySQL (5.5), mysql module for PHP and PDO stuff:
sudo apt-get install mysql-server
sudo apt-get install php5-mysql
Provide a new mysql root password when asked. Then restart the server:
sudo service apache2 restart
By the way, then you think you messed something up while installing a package then you can remove the package and its config files via
sudo apt-get --purge remove XXXXXX
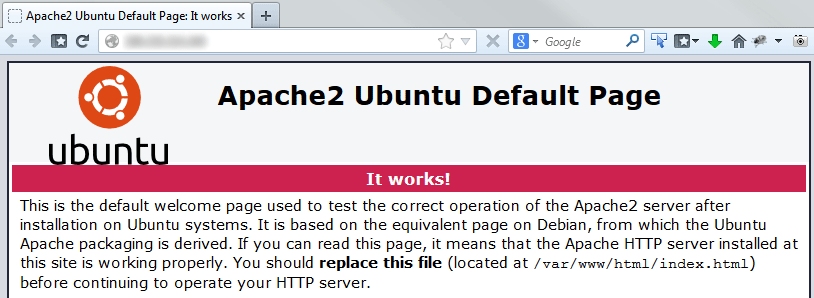
Have a look on your server to make sure Apache runs (simply type the IP of your server into your browser), you should see a page like this. For everybody being surprised why this looks so “new”: We are using Apache 2.4 here, not 2.2 anymore, and this version simply has a new default index page. Please read this page carefully (and make a screenshot or something similar) as it explains all the Apache-basics perfectly.
Wonderful! To check which versions of the packages are installed, you can always do
apache2 -v
php -v
Now let’s install PHPMyAdmin to make sure PHP and the MySQL server run and work together:
sudo apt-get install phpmyadmin
Select “apache2” when asked, select with SPACE and confirm with ENTER. Press ENTER when asked for auto-configuration and provide a new password for the phpmyadmin root user and mysql root passwords when asked for password (I use the same for this, to keep things simple). You don’t need to restart anything and there’s no need to config anything right now.
Have a look on PHPMyAdmin via
http://YOUR_IP/phpmyadmin/
and you’ll see the phpmyadmin login screen. Log in to prove that everything runs fine (usually with “root” and the password you provided).
Done!
NOTE: in a real live application you should not log into the server as the root user, not provide the root password to phpmyadmin and in general not have phpmyadmin available on the live server, but for a development server that’s totally okay.
In Apache 2.2, all public content was in /var/www by default. Now, in Apache 2.4, all public content is in
/var/www/html
You can change this for sure in the configs. By default this folder contains an index.html with the HTML markup we’ve seen when we navigate to the server with the browser. Delete this file. A graphical interface to easily navigate within your server is really helpful, for Windows users I can recommend WinSCP, for Linux users Nautilus or Konqueror, on Mac OS CyberDuck is a good choice. These tools allow graphical FTP-style interaction with the server while offering real command line SSH at the same time.
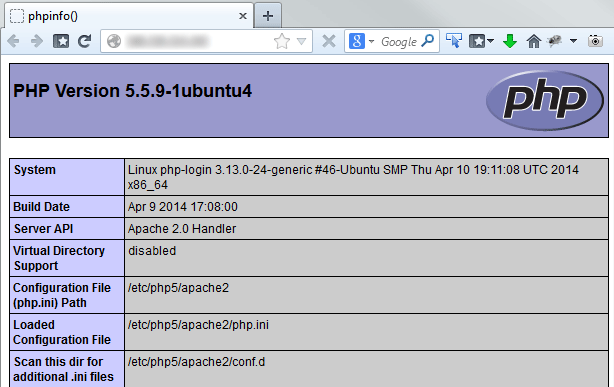
To get a perfect overview over the installed modules, extensions and general PHP configs, create a file called index.php inside /var/www/html and put this inside:
<?php
phpinfo();
and then have a look into browser:
Before you ask: The OpenSSL Hearthbleed Bug thing:
A side-note for everybody who just got a heart-attack reading the OpenSSL-section of the phpinfo() output which seriously shows OpenSSL 1.0.1f: The Hearthbleed Bug affects versions 1.0.1 to 1.0.1f, all versions after 1.0.1f (which means 1.0.1g) are fixed. However, this version 1.0.1f on Ubuntu 14.04 LTS comes with a special patch included that fixes the Hearthbleed Bug without upgrading to 1.0.1g. My personal opinion on that: WHAT THE FUCK ? This will bring a lot of confusion to the world, but .. that’s how it is. More info in this StackOverflow post here. Ubuntu has published an official warning notice about 12.04 LTS, 12.10 and 13.10, but not for 14.04 LTS. By the way, you can test the OpenSSL “version” by doing “sudo openssl version -a”. It will show 1.0.1f, but with the notice “built on: Mon April 7 … 2014”, which was the day the fix was integrated. More on that topic in another article.


